Completed tail surfaces
- Details
- Written by Kevin Horton
- Hits: 4334
Here are all the tail surfaces, except the left elevator, which was not completed when this picture was taken.
On the left, you see the vertical stabilizer, upside down, with the leading edge to the right.
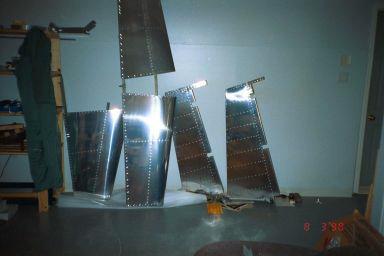 Next is the horizontal stabilizer, with the leading edge to the right.
Next is the right elevator, with the trailing edge to the left.
At the right is the rudder, with the trailing edge to the left.
Rudder in jig
- Details
- Written by Kevin Horton
- Hits: 4437
Here is the rudder in the jig. The purpose of the jig is to hold everything straight so that the surface will not be built with a twist in it.
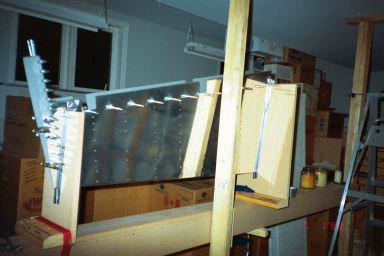 The boxes in the background are there because we had a big ice storm in early January 1998. There was so much freezing rain that most of the power lines were down. We were without power for ten days, and the lowest level of the basement started to flood because there was no power for the sump pump. All the boxes had to be moved from to the next level up, the workshop.
Rudder skin with stiffeners
- Details
- Written by Kevin Horton
- Hits: 4717
Here is the rudder skin, with stiffeners riveted to the left side.
You can see the holes in the right side of the skin where the stiffeners will be riveted.
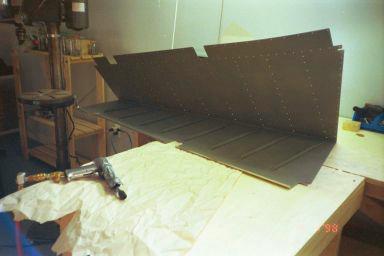 The rudder has very little internal structure, so the purpose of the stiffeners is to keep the large areas of unsupported skin from vibrating.
The inside of the skin is an olive drab colour because of the anti-corrosion primer.
The rivet gun is sitting on the table in the foreground.
Vertical stabilizer
- Details
- Written by Kevin Horton
- Hits: 5135
Here is the vertical stabilizer skeleton in the jig with the skins on prior to riveting.
The leading edge of the vertical stabilizer is facing up.
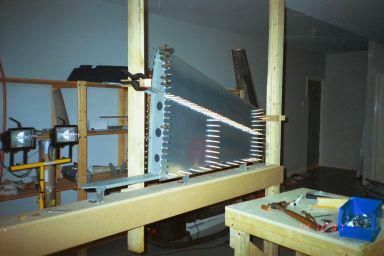 The vertical stabilizer is built the same way as the horizontal stabilizer.
Terry holding completed horizontal stabilizer
- Details
- Written by Kevin Horton
- Hits: 4025
Terry is holding the completed horizontal stabilizer.
She helped me rivet one side by holding the bucking bar inside, while I ran the riveting gun on the outside.
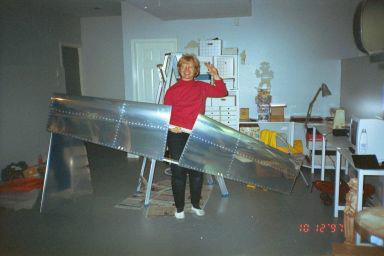 She wasn't very enthusiastic about the idea before we started, but it wasn't as bad as she thought.
It was pretty exciting to finally have our first real aircraft component.
One part down, only another gazillion to go!!
Terry with ear defenders
- Details
- Written by Kevin Horton
- Hits: 2861
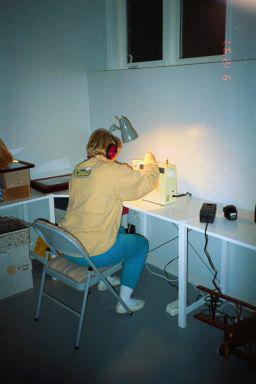 Terry's sewing area is in the basement, at the end of my workshop area. When I am using the rivet gun, it gets really noisy, and she has to wear "ear defenders".
