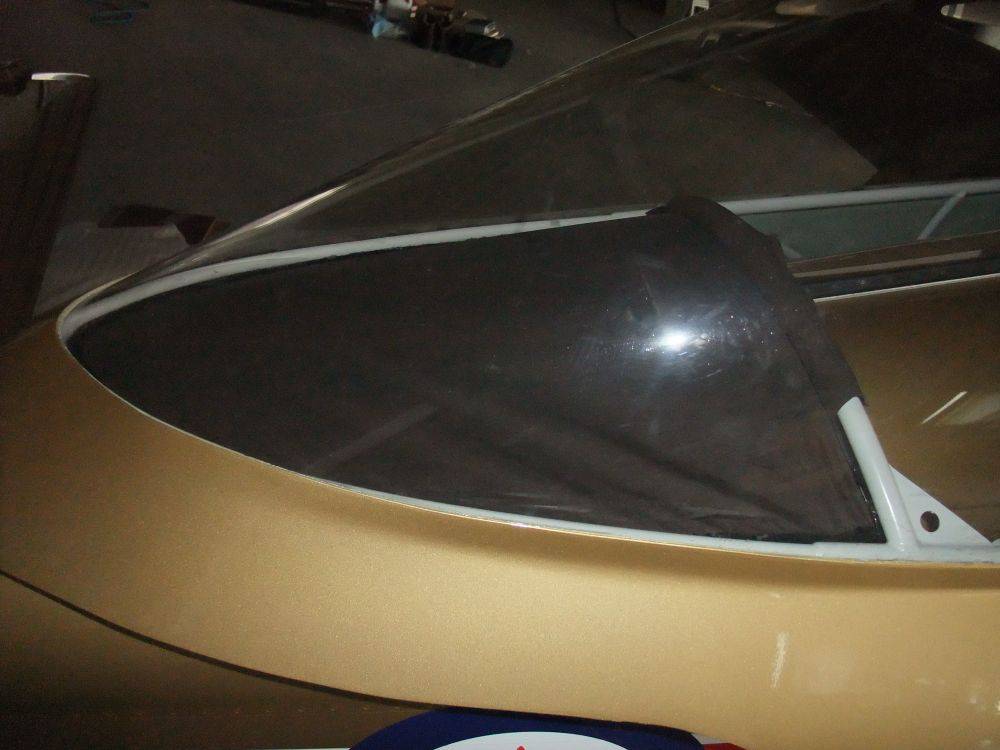
It was a bit brisk when I flew the aircraft on Monday, and I felt a very cold draft from the back of the canopy. Terry had originally complained about the draft from the rear of the canopy skirt hitting her on the back of the neck. I had tried putting weather striping between the bottom edge of the canopy skirt and the fuselage, but this proved ineffective. The aluminum fuselage, steel canopy frame and fibreglass canopy skirt all have different coefficients of thermal expansion, which means the fit between the canopy skirt and the fuselage changes with temperature. And, to make it even worse, the air flowing over the canopy lifts it upwards in flight.
I gave up on the weather stripping and copied an idea I saw on an RV-8 at Oshkosh - a horizontal fabric air dam that keeps the air that gets in trapped. Weather stripping between the curved tube in the canopy frame and the fuselage just behind the rear seat prevent this trapped air from making it into the rear seat area. My first implementation worked well for many months, but the adhesive on the stick-on Velcro eventually started to fail, allowing cold air to get around the edges of the air dam.
This time I used Velcro without adhesive, and glued it to the canopy frame with Goop glue. I used duct tape to hold the Velcro in place while the glue cured. It seems to be secure, but time will tell.
 Here we see the air dam, held to the bottom of the canopy frame by Velcro.
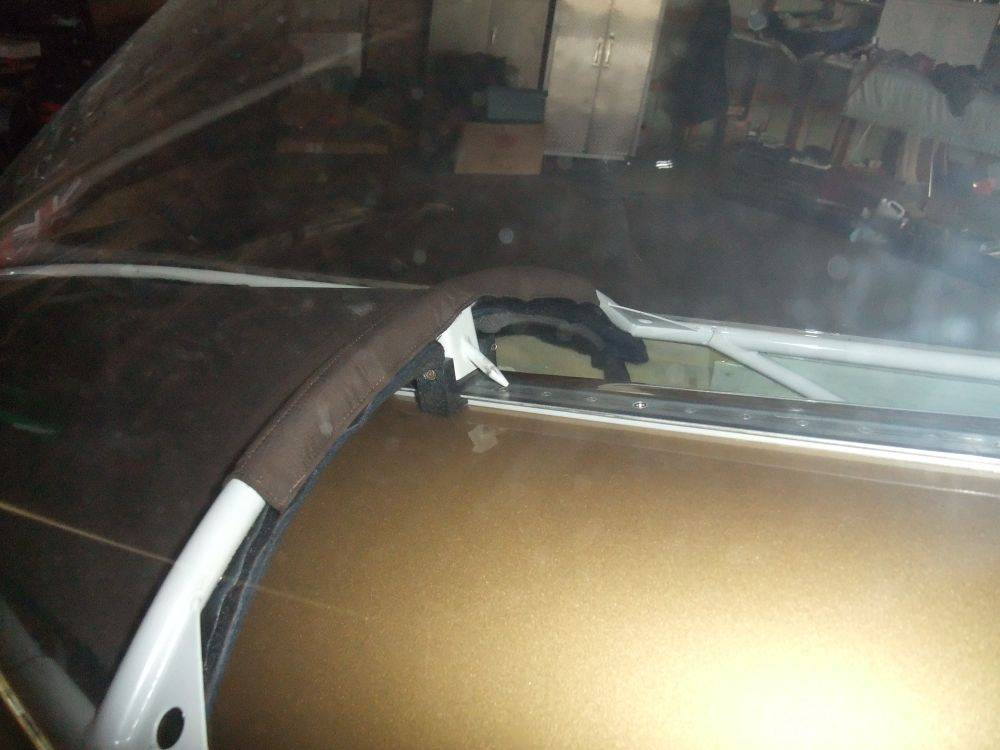 Another view of the air dam. You can see the weather stripping that seals just behind the rear seat, as the back of the canopy drops down as it closes.
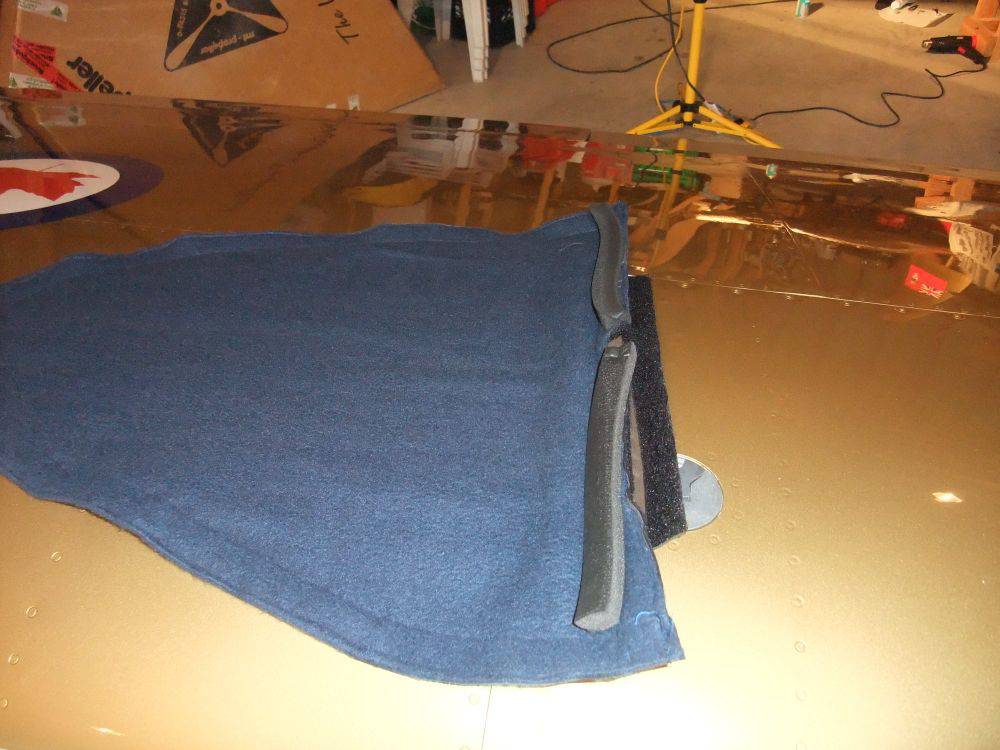
 Here is the top of the air dam, laying on the wing before I reinstalled it. I’m not convinced the flap at the front is necessary, but Terry had a different opinion, she was the one sewing the dam, and it was the back of her neck that bore the bore the brunt of the air blast, so I didn’t argue with her.
 Here you see the bottom of the air dam, with some of the weather stripping that seals between the front of the air dam and the fuselage surface just behind the rear seat.
I also started working on the annual inspection. I’ll do it in zones over the next couple of weeks, doing one part of the aircraft at a time, and putting the aircraft back in flying condition at the end of each work session.