 The hole in the instrument panel where the Navaid Devices wing leveler control head was installed turned out to be too small for the new Trio Avionics Pro Pilot autopilot. The new autopilot was 3.14" in diameter, slightly more than the expected 3 1/8", whereas the hole was 3.10" in diameter. I purchased a 3" sleeveless sanding drum and some high quality [Norton 3X] sand paper at Lee Valley Tools.
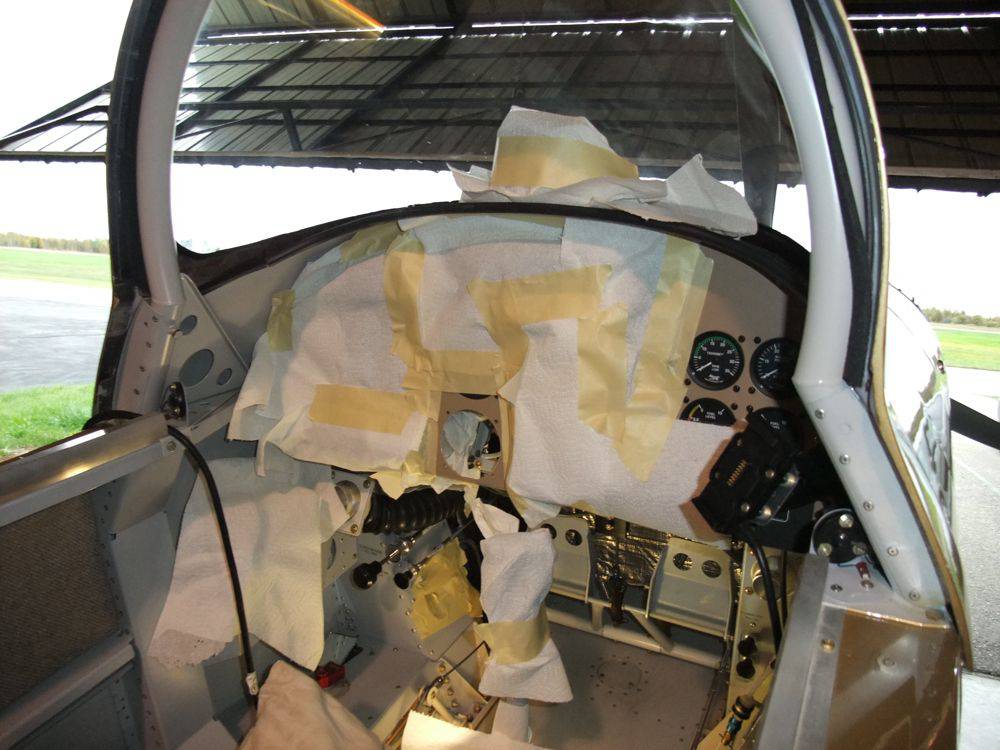
I removed the transponder and GNS 430W from their trays, and covered up pretty much everything else to keep the sanding dust out. Then I attacked the hole with 100 grit paper on the sanding drum, and was happy to see that it removed material very quickly. Too quickly in fact, as I overshot the desired hole size very slightly. I smoothed out the edge with finer sandpaper on the drum, and ended up with a hole 3.16" in diameter.
 Here is the new control head sitting happily in its hole. It is the round one on the left on the bottom row.
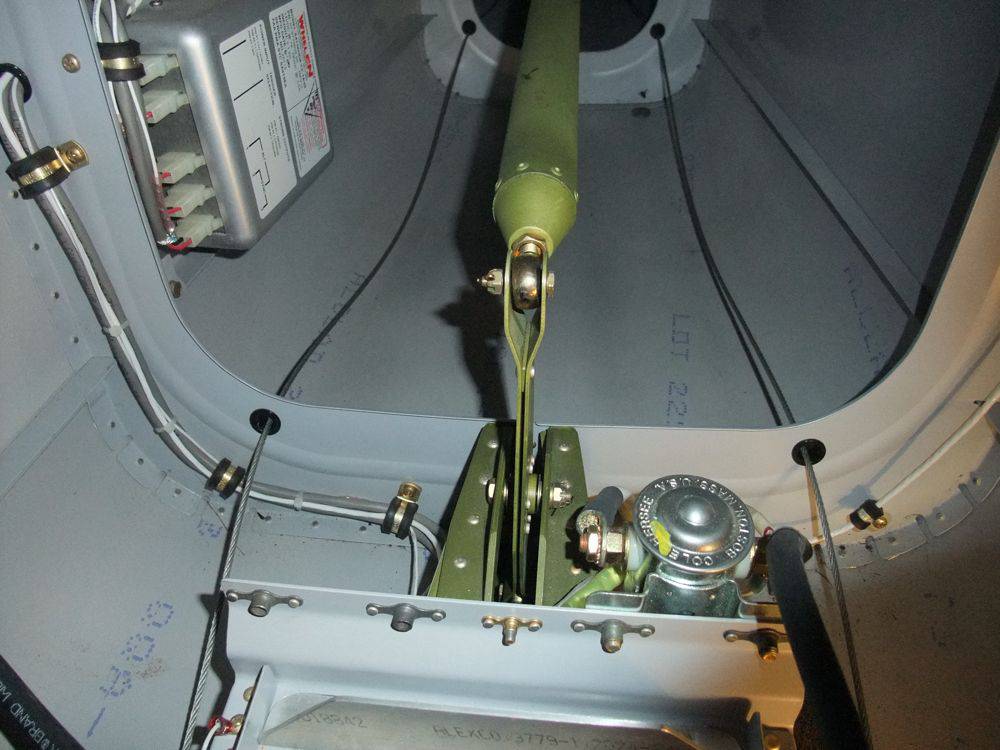 Next, I attacked a mount for the pitch servo. The typical place to install the pitch servo in RVs is next to the bellcrank just behind the aft baggage compartment. If the aircraft does not have an aft-mounted battery, the pitch servo tray can be mounted ahead of the bellcrank on top of the baggage bay ribs. But, my battery sits there, so the servo has to go behind the bellcrank. If I was installing the servo when I was building the aircraft, I would have extended one of the angles which support the bellcrank, so the angle extended aft to provide a support for the servo.
 I decided to rivet a new angle on top of the original one, as it would be difficult to exactly duplicate all the hole dimensions closely enough if I tried to replace the original angle with a longer one.
I had to temporarily remove the battery tray to get access to buck the rivets that attach the new long angle.
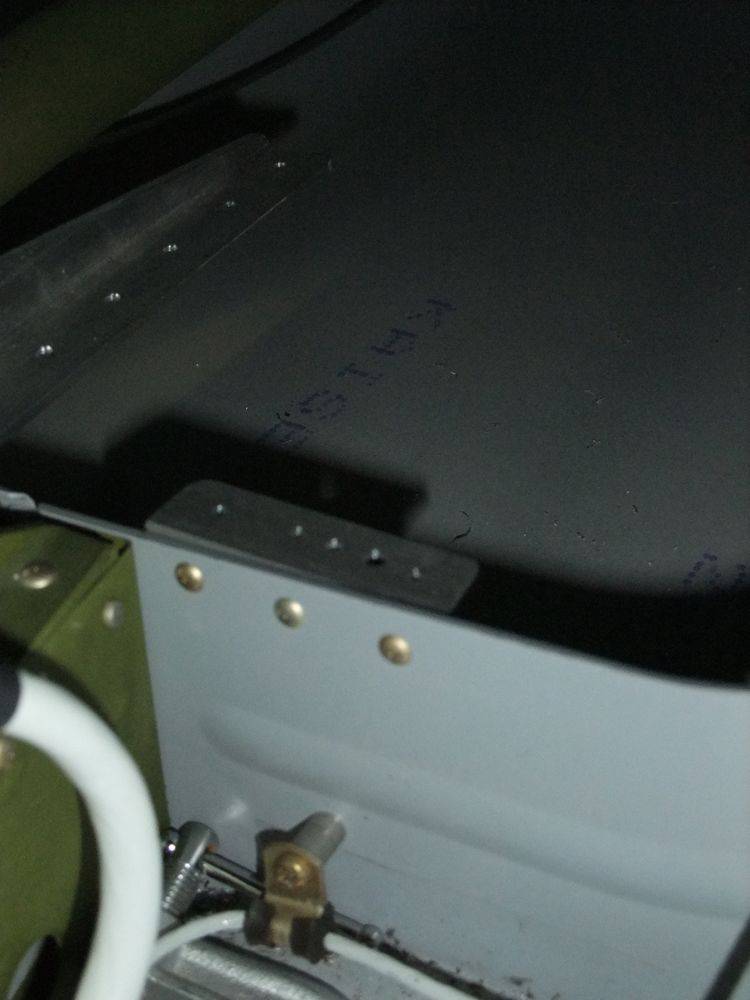 A small piece of angle was riveted to the bulkhead to support the front end of the servo.
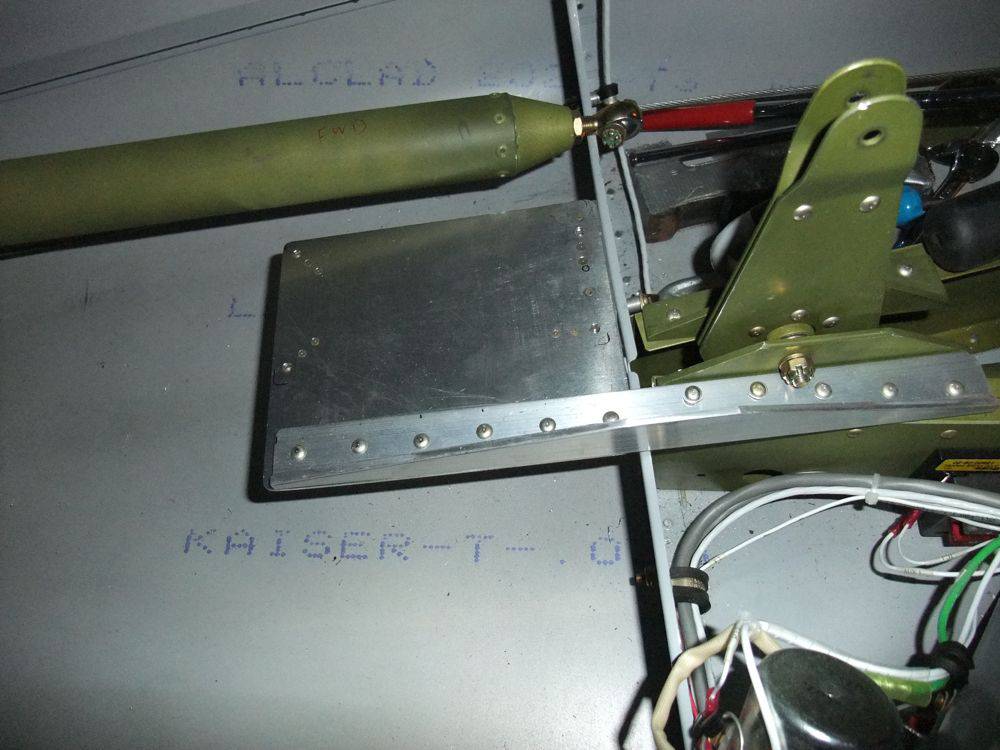 Here is the mount, all riveted in place.
 And here is the servo in place on the mount. I drilled a hole for the control rod in the bellcrank, and determined what length rod I need. I'll fabricate the control rod at home tomorrow.
I also started running the wiring that runs between the autopilot control head and the pitch servo. I got it through the landing gear box and the front spar, which were the two biggest hurdles. Now I need to open up some of the Adel clamps so I can secure the wiring in place, and connect the wiring up at the servo end. I will also run a cable for the eventual 406 MHz ELT upgrade. The new 406 ELT will get position data from the GNS 430W GPS, and it needs a new cable to carry that data. Given that I have access under the floor now, this is the perfect time to run that cable. I'll cap the ends and stow them, so it is ready when I need it.