I got a few small items done this week, and two larger items.
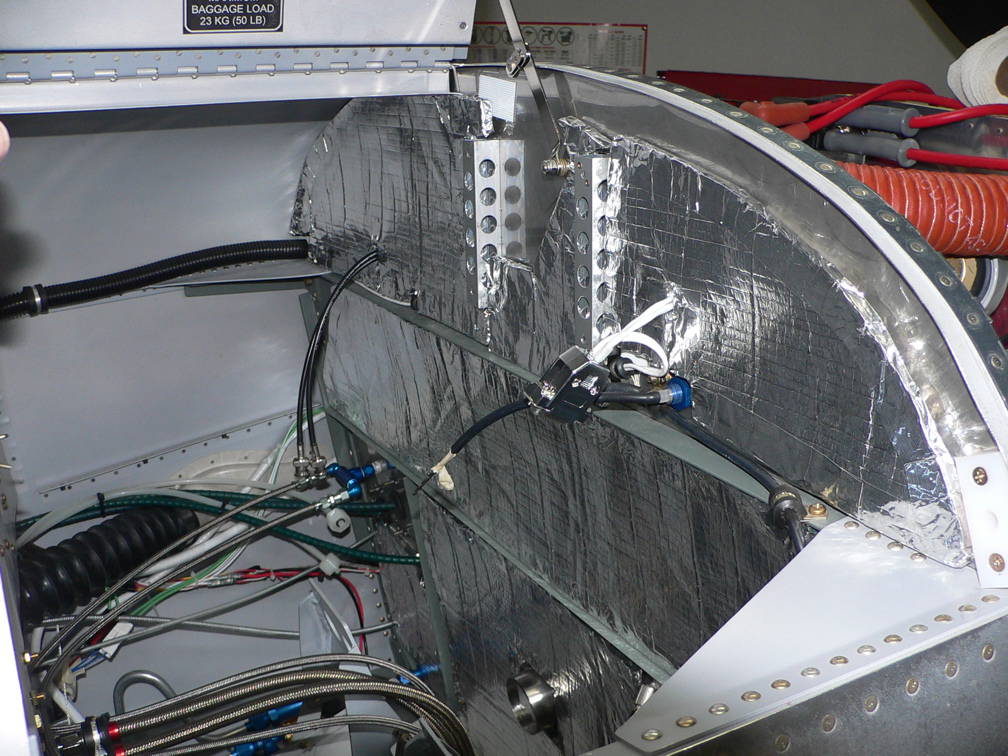 I spent several hours finishing off the sound and heat insulation on the firewall. The hardest part of that job was removing the adhesive from the industrial grade stick-on Velcro that I had used on the first aborted attempt at installing firewall insulation. I was able to use most of the original Velcro on the firewall, but there were several pieces that turned out to be poorly placed, so I had to remove them. I had been worried that the adhesive wouldn't stick well to stainless steel, but that turned out to not be a problem. I was able to peel the Velcro off, with considerable effort, but there was a thick layer of adhesive left behind. I finally discovered a wax and grease remover that would soften it slightly, so I could remove a few microns at a time with a scraper.
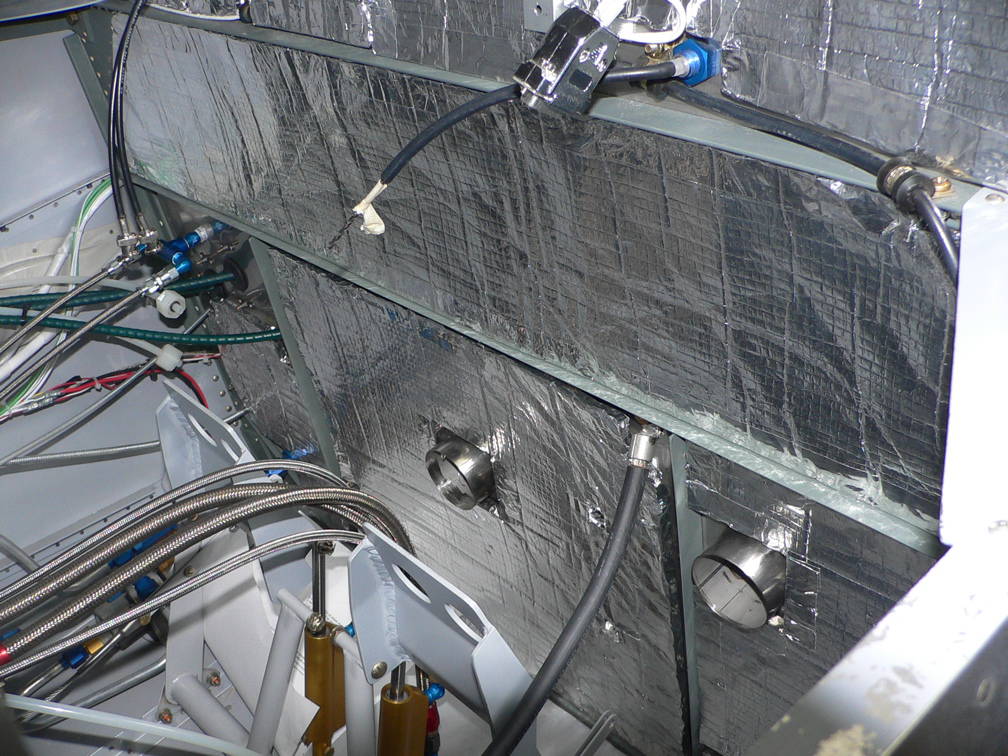
I had a minor disaster while installing the firewall insulation. The piece that goes at the top right is shaped so the inside edge of the forward baggage bay door just clears it. After I installed it, I decided to close the door to confirm that the insulation wasn't interfering with hit. The door seemed be hitting something at the front edge, which I assumed must be the insulation, so I gave it a rap with my hand. There was a loud SNAP, and the door closed. Oh oh. That didn't sound good. It had been a long time since I had closed the baggage door, and I had forgotten that it has a slight twist in it. You have to twist it a bit as you close it, or the forward edge hits the UHMW plastic block that the forward latch rod goes into. The edge of the plastic snap ring had hit the edge of that block, which is why the door didn't want to close, and the snap ring broke when I gave the door a rap with my hand.
To further complicate things, for some strange reason, the short screw that fastens the latch rod arm on the back of door lock had come out, and the latch rod arm had come off, which allowed the forward latch rod to slip inside the door. I had actually seen that the screw was missing a week ago, but I hadn't comprehended what I had seen until just now. It is weird that it took my brain a week to process what my eyes had seen.
The latch mechanism was designed to be assembled before the inside skin of the door was pop riveted in place. Now I had to repeat this on an already assembled door. Fortunately, I had a spare screw for the lock, and this time I put some Lock Tight on it. It took quite a bit of fiddling around, but I was able to get the latch assembly reinstalled.
 Yesterday I cleaned the windscreen, as it had some residue from the 3M 471 vinyl tape that I had put on it when I built the fibreglas windscreen fairing. Today I installed the windscreen, scuffed the aluminum that would underlay the fairing, and cleaned and scuffed the inside surface of the fairing. Then I gritted my teeth and put a 3/16" bead of Lexel adhesive where the fairing would go, and popped it in place. I used some 3M 471 tape to secure it in place.
I was very worried how it would turn out, as a major problem would probably require me to buy a new canopy to make a new windscreen, and make a new fairing. This would be a major, major setback. I was very nervous when I installed the fairing, but it looks perfect. Whew. There is very little gap between the fairing and the windscreen or fuselage, and the fit is perfect. I'll give it a couple of weeks to fully cure, then I'll track down some auto body seam filler to seal the small gaps between the fairing and the fuselage and windscreen.
The RV-8 instructions would have the builder lay up the windscreen fairing in place, and never remove it. I was worried about how I would get a nice edge on the fairing without scratching up the windscreen with the sanding. I borrowed my approach from John Huft - he had the idea of laying the fairing up on tape, and removing it for sanding, then bonding it on later
Note: John Huft used Lexel to bond the fairing to the Plexiglas, and fibreglas resin to bond it to the aluminum. The Lexel application info seemed to indicate that it might not have quite as strong a bond to aluminum as it would to Plexiglas and fibreglas, so I decided to do a test. I cleaned and scuffed up pieces of fibreglas and aluminum, then bonded them together with Lexel. I checked the joint 18 hours later, and the bond seemed to be very weak. I decided that I would have to use fibreglas resin. But yesterday I took another look at this joint. It had been about about three weeks since I had bonded the pieces together, and now the bond was very, very strong. The bonded area was only 1.25 square inches, but I could not pull them apart, even though I had moved the bond 18 hours after it had been made. Lexel appears to make very strong bonds, but it takes a long time to fully set up.