It's been a busy few days. A hole in my work travel schedule opened up, so I booked last week off before any other work commitments could get put in that week. I spent much of the week fighting with the fibreglas.
 I finally got all the tail surface tips in good enough shape for paint, except for the rudder bottom. I decided to paint them silver for now, as the metal won't get painted until after the flight test program, and silver is the best match. The paint looked great, until it dried. Then some areas were shiny, and some were flat. Another coat. A bit better, so one more coat. One of the six pieces looked good, but the rest needed a fourth coat. I riveted the horizontal stabilizer tips on today, and the rest will go on this week.
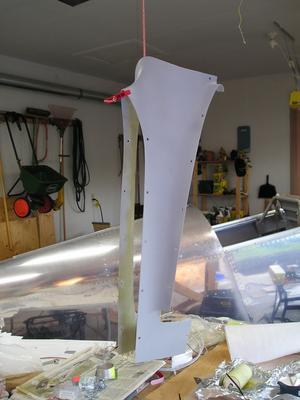
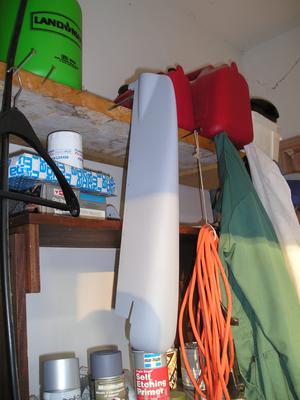 I put the first coat of primer on the rudder bottom and the empennage fairing. The rudder bottom isn't in too bad shape, but the empennage fairing has a good number of pin holes to fill.
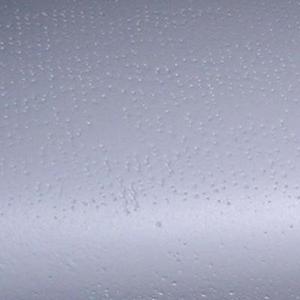 Then I started on the lower cowl. I didn't think it had too many pin holes, but I just about had a heart attack after spraying the first coat of primer. Thousands of pin holes. Several tens per square inch, I think. :(
I was looking at the cowl of an RV-8A last year in Oshkosh, and saw quite a few pin holes. I couldn't understand how someone would bring their aircraft to the big show looking like that. Now I understand. I thought he had done a poor job filling pin holes, but he probably got 99.99% of them.
This is a close-up of part of the lower cowling, showing the horror of pin holes.
 I had been using a UV-activated filler that another builder had recommended to me. He liked it because he could squeegee it on, then put the part outside for a few minutes and then sand it. I tried the stuff, but I found it was too thick, and it was hard to get a thin layer. Plus it was hard to sand, and it didn't cure as fast as I expected. So, I tried some automotive glazing putty. It was much thinner - I could squeegee it on and have it only go in the pin hoses, plus a very thin coat on top. It took over an hour to cure, but it was easy to sand and paint went over it well. It is my current pin hole weapon of choice.
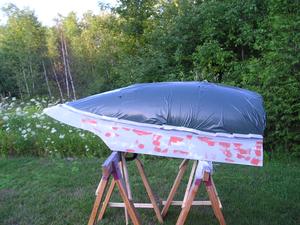
The canopy skirt is slowly coming along. Still lots of pin holes to fill, etc. The red blotches are the glazing putty curing.
I have been supporting the canopy on saw horses, but that is a real PITA. If I need to move it inside or outside, I have to take it off, carefully set it on the grass. Move the saw horses, carefully pick the canopy up and get it set on the supports that are C-clamped to the saw horses. This is an accident waiting to happy. So, this evening I built a canopy stand on castors. It is 95% complete - it should be operational tomorrow.
Back to work tomorrow.