I had last week off, so I tried to get a fair bit of work done on the aircraft. I fiddled around with the instrument panel to sort out the final fit with some of the instruments, then bolted the fixed panel in place. I took great pleasure in putting it in place for the final time, as it has been in and out more times than I can count. It feels great to be doing a task for the last time. I installed the switches on the left side of the fixed panel, and the head set jacks on the right side, and secured the wiring. I took great care to get everything "just so", as it was going in for the last time.
I had the instrument panel labels done at a silk-screening shop, as it is the most visible part of the cockpit, and I wanted them to look perfect. But there are many other labels required on various items in other parts of the cockpit, and it isn't practical, or cost effective, to have everything done professionally. So, I needed to come up with a way to make some good looking labels. I spent a few hours going through RV-List archives, and doing on-line research. I ended up purchasing a Brother P-Touch 2600 labeler. It can work in a "stand-alone" fashion, or it can be connected to a computer to get even more control over what it prints. It prints labels on laminated tapes, with a clear strip over the label to protect it. And it will do black or white text on clear labels. It took a few hours of experimenting to figure out how it worked, but it will do the job. 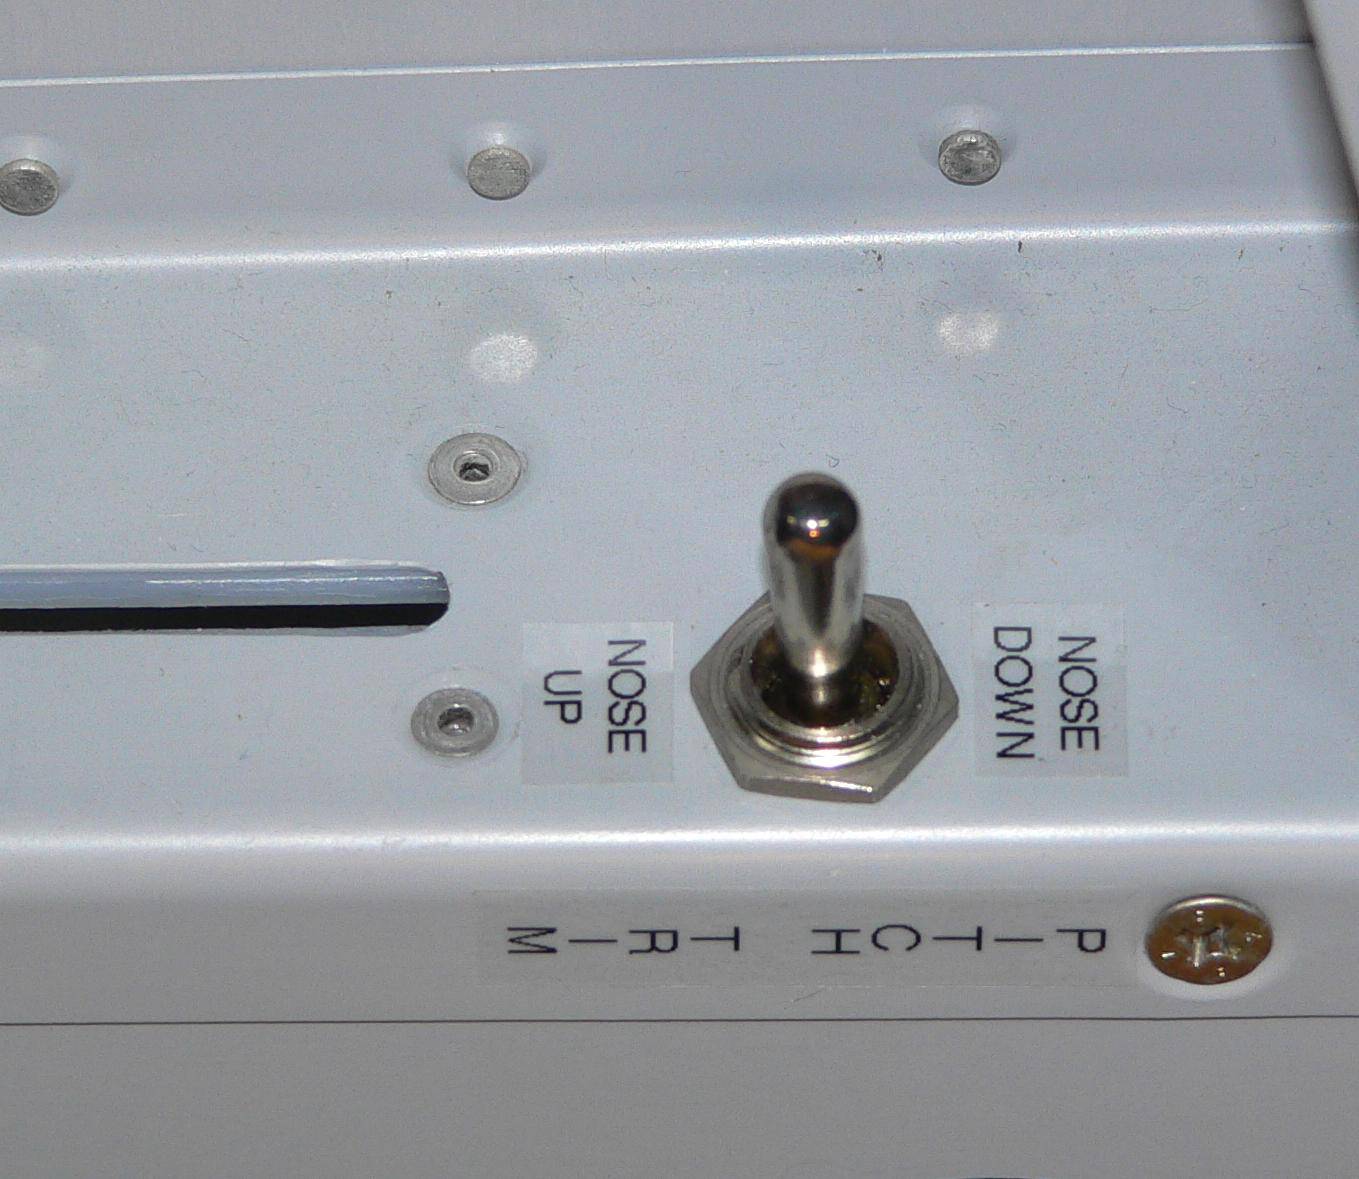 I tried making the rear seat pitch trim labels, and they turned out pretty good, except the shiny clear tape is a bit more visible than I wanted. I've ordered a different cartridge with matte surface clear tape, so hopefully this will be better. The picture makes it look like these labels are on crooked, but that is just the effect of parallax.
In the spirit of doing things for the last time, I decided to do the four rivets that attach the bottom part of the fixed panel to the fuselage. I was quite put out to discover that there wasn't enough clearance for the bucking bar, and I had to remove the head set jacks and several switches. I did the riveting, then put the switches and head set jacks in for the last, last time (I hope).
I spent some time recording a block of raw serial data output by the Garmin GNS 430, in aid of sorting out the program to record its data. It always amazes me that this thing locks onto the GPS constellation from inside the garage. That low power GPS signal gets through a bunch of snow on the roof, the shingles, plywood, insulation then the drywall in the garage ceiling. Magic.
I spent way too many hours driving around to electronics shops looking for a suitable bulkhead plug for the flight test event marker connection. I wanted something that went in a circular hole, was small, light, inexpensive and easy to install. I eventually found a nice round five-pin audio connector that will do the job. I drilled the hole for it this morning. The hardest part was cleaning the swarf out of the landing gear box afterwords. I've discovered that the cover for the male part of the connector is broken, so I need to head back to get a replacement (it was in a surplus parts bin, and I obviously didn't look at it closely enough). Next I'll need to solder the wires to the bulkhead connector and install it.
Yesterday evening and much of this afternoon were devoted to taxes. Ugh.
Then I spent a few hours reviewing my draft flight test plan, and started to create test cards for the ground testing and first flight.